How to

Are you a beginner?

That’s cool! ? Welcome in a world of papercrafts! ✂️

I can’t be more grateful to be your guide into an amazing world of creativity and wonderful meditation time while building the process. With a fantastic result which will decorate your favorite spot moreover. Or it’s a beautiful gift too. ?

Basic steps

to build your first model successfully. Nicely and precisely. ?

Score all fold lines

Do it from the print side.
For scoring use a blunt knife or an opposite knife edge. Avoid cutting through. Better to try on spare piece of chosen paper first.
If you wanna be a PRO papercrafter, transfer points of the ridge folds by pins to the opposite side and score them from there. The result will be much more accurate and clean.

Cut off

Start with holes, if there are some. They are marked by red crossing lines.
After that cut off the whole part from the sheet.
You can use scissors, a cutter, or a scalpel. I prefer a cutter.
Edge lines are better to be done by the ruler. The flaps and edges that will be no visible from the view side can be cut without.

Bend the folds

it should go easy and accurately thanks to the scoring.

Try it “dry” first

Before you apply the glue, try the dry composition. If all fits, go ahead…
Following the marks (present on advanced models) and helplines can be helpful.

Spread out the glue

equally into a thin layer on the whole flap, especially into the corners.
You can let the glue dry a little bit before connecting the parts together for faster dry then. Fix it in the wished position for a while by a little pressure.

Keep your hands and tools clean

otherwise the glue gets dirty your model.

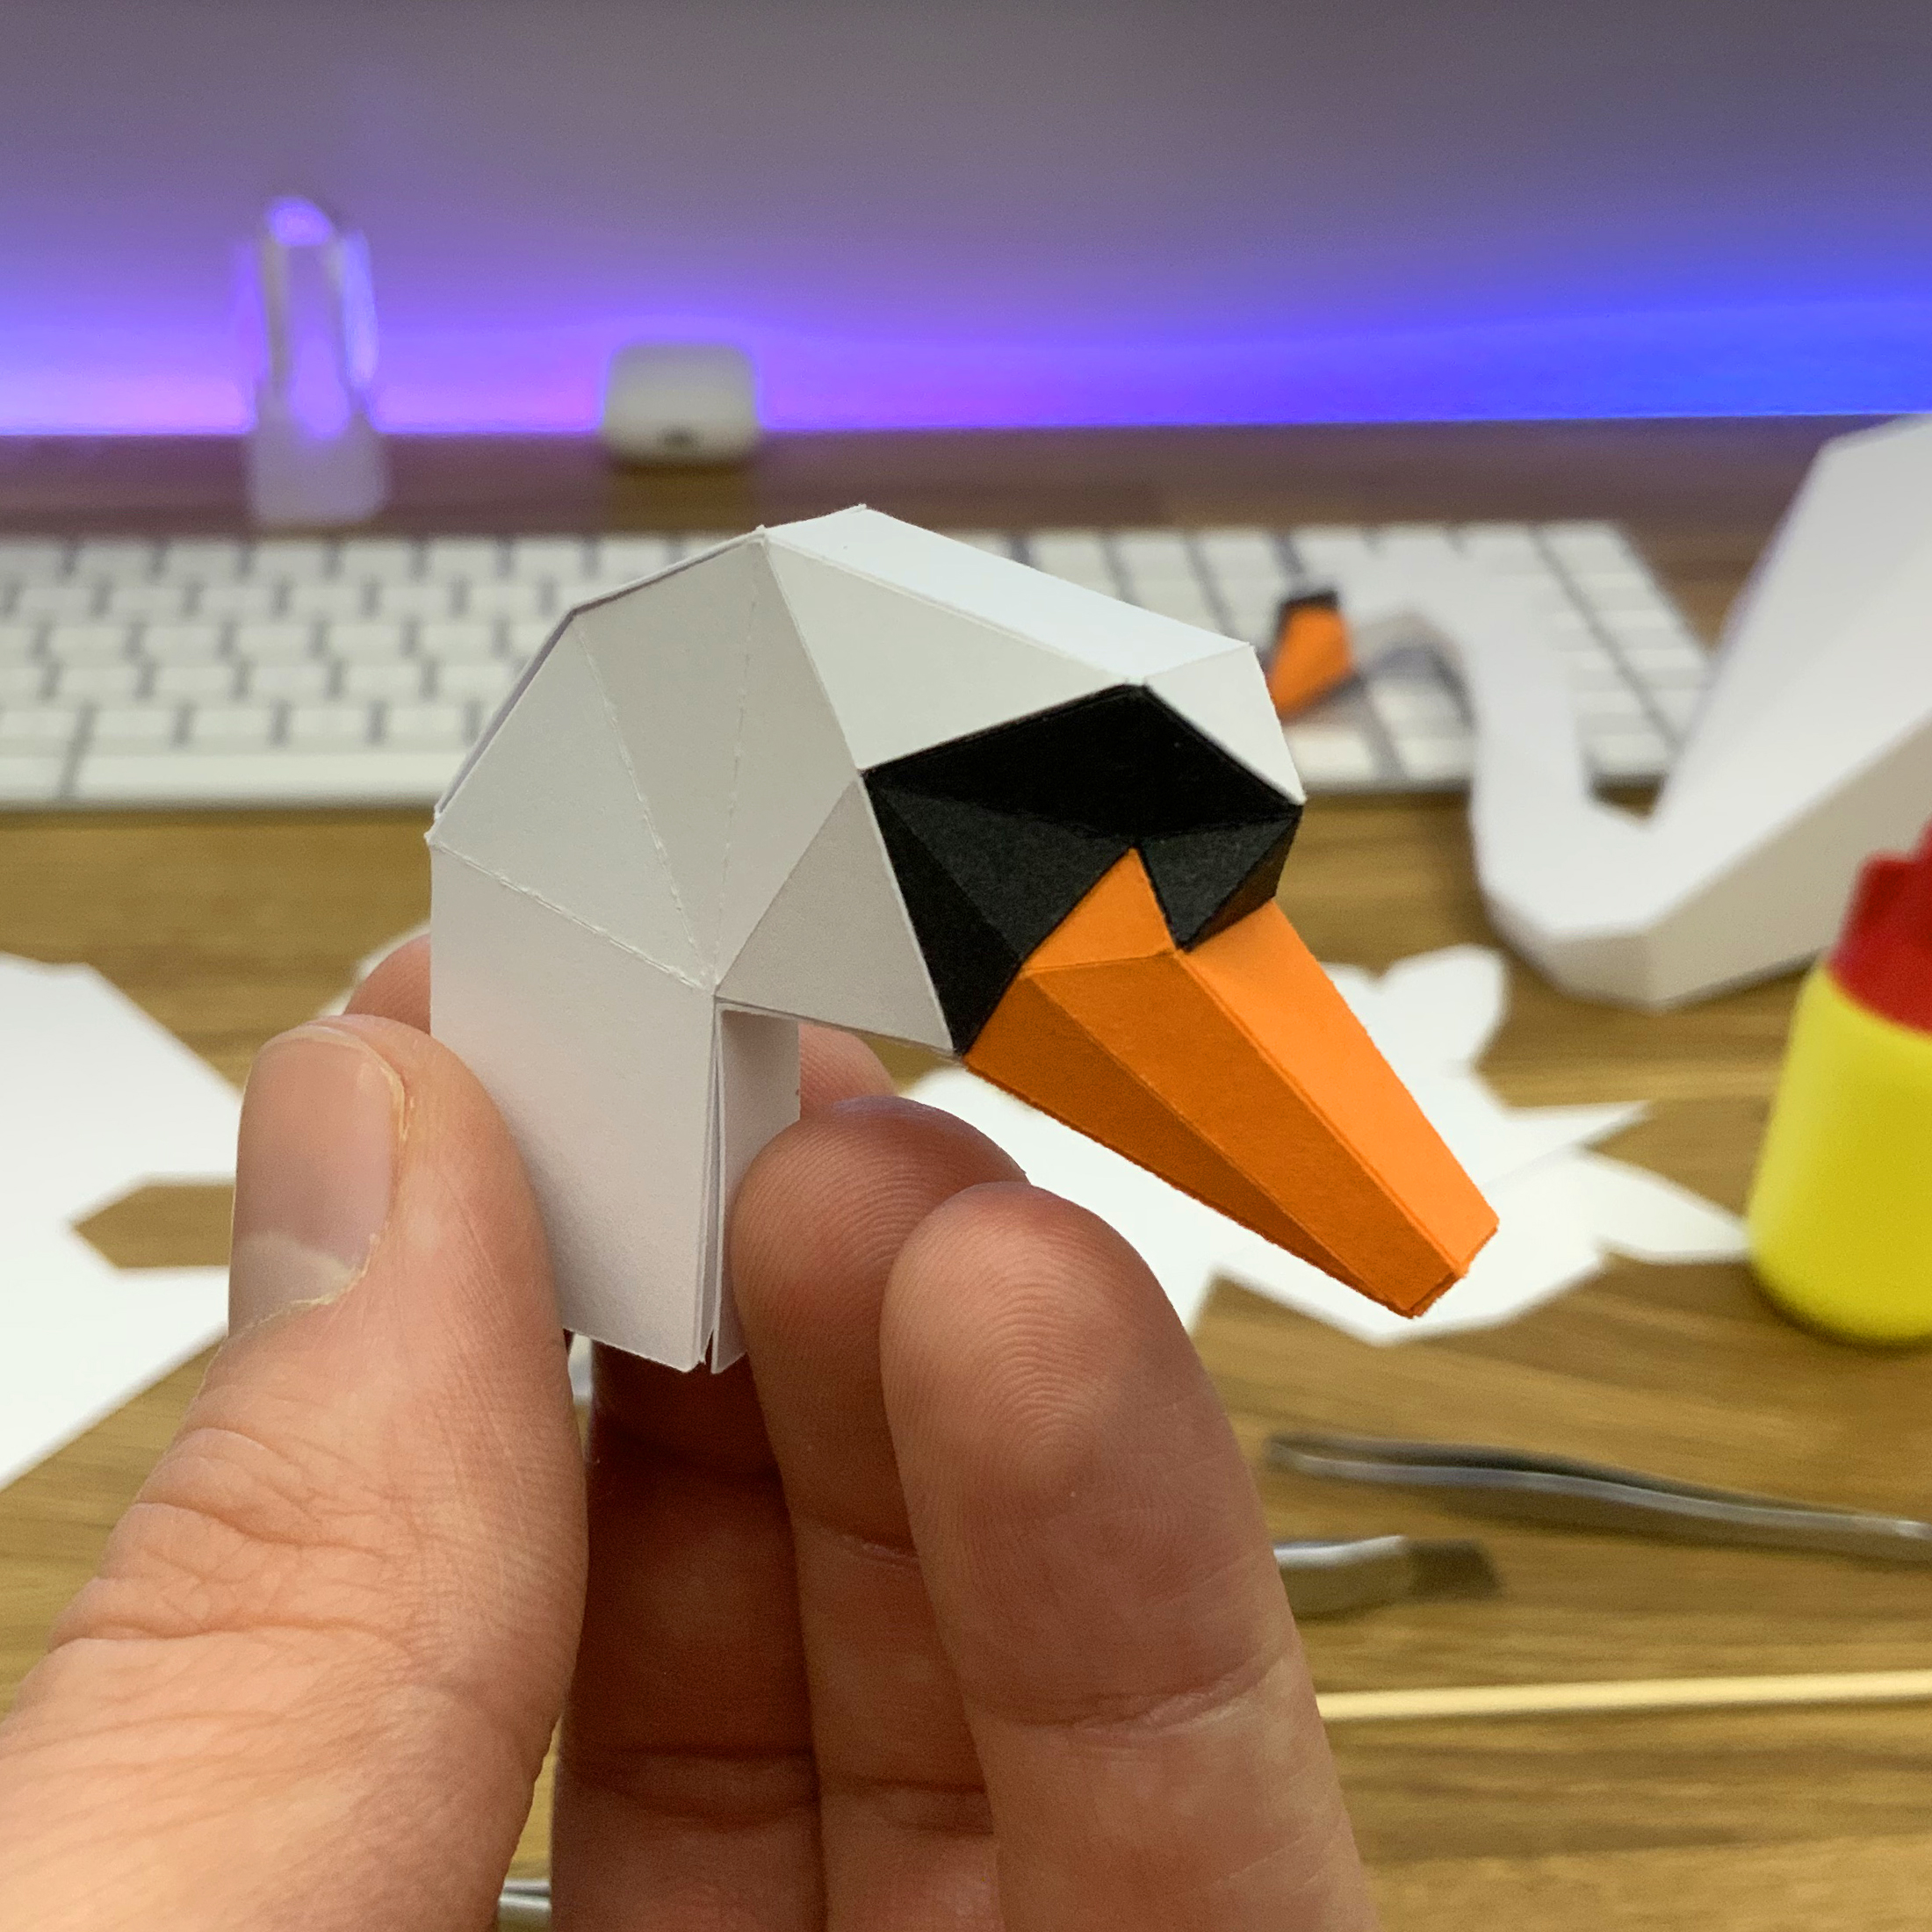
How it looks in practice?

Sounds good? Time to try?

Hurray!

Nothing is impossible. It’s all just about patience and time you want to dedicate to it. Remember – the result will be as perfect as patient and precise you will be ?.